March 2024. 3:17 on a Thursday. A client called about a railing system that didn't match the anchor layout in a new concrete slab. The inspection was scheduled for Friday noon. The event was Saturday. Normal turnaround for that kind of anchor job: five to seven days. We had 36 hours.
In my role coordinating structural fastening for a specialty anchor contractor, I've handled 150+ rush orders in 12 years. This one was right at the edge of what's possible. We had to drill into hardened concrete, set epoxy anchors, let the adhesive cure enough for the railing load, and get an inspector to sign off. Missing the deadline wasn't an option. The client had a penalty clause that would have made the whole project unprofitable.
The Call That Started It
The base plates were already fabricated. The bolt pattern was wrong. That's the part people don't expect: the concrete was poured correctly, but the steel fabricator used a different template. So the anchors had to be moved, the concrete patched, new holes drilled, and the base plates either re-drilled or replaced. We had one shot to get it right.
The first surprise came when we arrived on site. The railing was installed in a narrow space between a steel beam and a concrete wall. Headroom under the beam was about eleven inches. A standard hammer drill wouldn't fit. This is where the Hilti right angle hammer drill showed up and changed the plan.
I said "we'll be there tomorrow morning." They heard "we'll be done tomorrow morning." Result: a tense phone call at 7 AM.
That communication failure almost cost us the job. The client thought we were going to finish before the inspection. We thought they meant "come start the work." By the time we clarified, we'd lost two hours and gained a headache. Lesson: in a rush, never assume the timeline. Write it out. Confirm it. Move on.
The Tool That Made the Difference
I have mixed feelings about cordless tools. On one hand, batteries add weight and you have to manage charging in the middle of a job. On the other, this emergency anchor retrofit wouldn't have happened without a cordless drill because there was no power drop near the work area, and a generator on the other side of the wall was feeding the scissor lift.
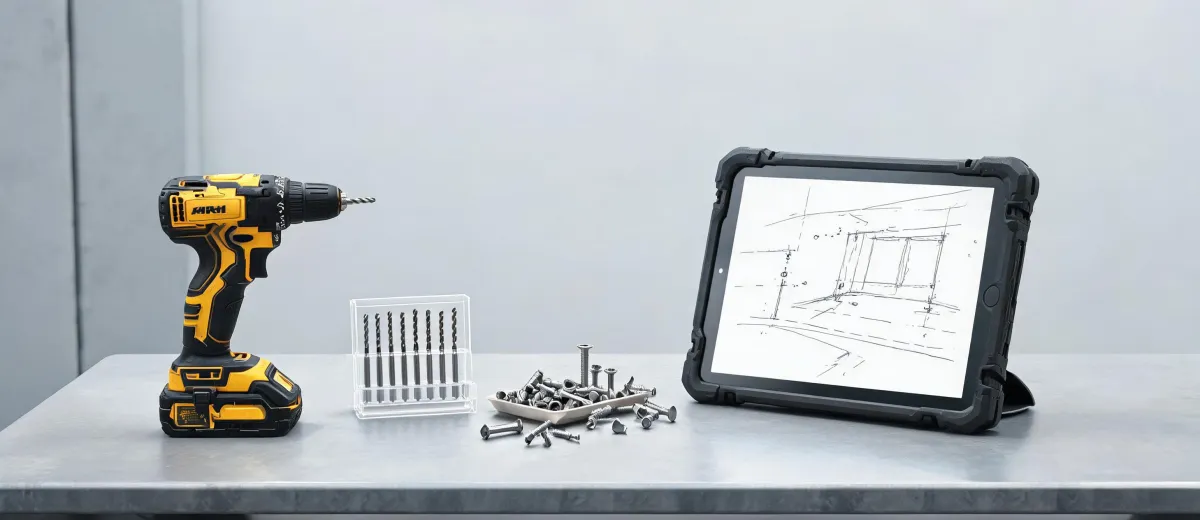
We used a Hilti hammer drill cordless that day. It was part of the new Nuron platform, and honestly, the battery performance surprised me. More importantly, the key wasn't raw power—it was being able to move along the beam, stop, check the angle, and keep going without stopping to swap cords. The right angle adapter let us drill where a straight-bodied drill couldn't fit. In the first hour, we drilled fourteen holes that a standard drill couldn't have reached at all.
If you're doing overhead work in tight spaces, the right angle attachment is not a gimmick. It's the difference between a two-day job and a thirty-six-hour job.
Right Angle vs. Straight Hammer Drill: Be Honest About What You Need
Here's where I try to give recommendations the same way I'd give them to a colleague, not a salesperson. The Hilti right angle hammer drill is worth every dollar if you regularly work:
- Under decks, beams, or mezzanines
- Inside wall cavities with limited swing
- Around pipe clusters or HVAC lines
But if you're drilling mostly into open slabs or straightforward walls, a standard Hilti hammer drill cordless model is lighter and faster. The right angle version adds bulk. It's intentionally trading power density for access. Don't buy it because a story sounds cool. Buy it because the geometry of your jobs demands it.
My experience is based on about 30 emergency anchor jobs in existing concrete. If you're working with new pours and open access, your experience might differ. I can't speak to how this works in prefab plants or production drilling where you're drilling 500 holes a day. For that, a corded rotary hammer with a vacuum attachment is probably the better call.
The Wrench, The Chainsaw, and The Grinding Wheel Dresser
Before we could set the anchors, we had to fix the base plates. One plate had a damaged thread in a nut that a previous crew had cross-threaded. The right tool for that turned out to be a wideazz adjustable wrench. The jaw opens wide enough to grip a 1-1/4" nut without rounding the corners, which meant we could remove the nut and swap the base plate without cutting anything.
Another part of the beam had to be notched to clear the new anchor position. We used a 270 chainsaw with a diamond chain to cut clean lines without spalling the concrete. If you've never used one, think of a chainsaw that cuts concrete instead of wood. It's messy, loud, and in the right situation it saves hours compared to chipping with a rotary hammer.
Then there was the grinding. The base plate sat on an uneven patch from the old anchor location. We had to make the surface flat before setting the new plate. This is where the grinding wheel dresser came in. If you're asking "what is a grinding wheel dresser used for?"—it's the tool you use to true and clean the face of a grinding wheel. Over time, the wheel loads up with metal and glaze, so it stops cutting and starts burning. A dresser removes that dull layer and exposes fresh abrasive. On a job with a deadline, that makes the difference between grinding for ten minutes and grinding for forty.
(Note to self: don't skip the dresser. The quick pass takes thirty seconds and keeps the wheel from turning into a heat gun.)
The Cure Time Problem
With epoxy anchors, the adhesive needs time to reach its designed strength. We used Hilti's HIT-HY 270 adhesive, which is our go-to for rebar and threaded rod in hardened concrete. But the temperature on site was around 45°F, and the cure time stretched longer than we planned.
According to Hilti's technical data (hilti.com), the gel and cure times depend on temperature, embedment depth, and moisture. We called the Hilti engineer line before we mixed the first cartridge. The advice we got changed the sequence: we set the anchors first, then used temporary bracing to hold the plate, and started the torque check three hours later than we originally planned. We had to rebuild the schedule around the adhesive, not the other way around.
That was the moment I almost made a mistake. I wanted to torque the anchors early to make the inspection. The engineer said no. We waited. The inspector showed up at 11:45 AM, we torqued three test anchors, all passed, and the railing was secure by noon.
What I'd Do Differently
The job got done, but I don't want to pretend it was smooth. The communication mix-up about "tomorrow morning" cost us two hours. The grinding wheel dresser worked, but only because someone remembered to grab it from the truck. And the chainsaw made dust that got into the anchor holes; we had to blow them out with compressed air before injecting the adhesive. In hindsight, I'd have cut the notches before drilling, not after marking the holes.
Part of me still thinks cordless tools are overhyped for production work. Another part looks at the photo of that railing and remembers that we drilled fourteen holes in an eleven-inch gap, with no power drop, and made the deadline. The cordless Hilti hammer drill wasn't a luxury on that job. It was the only way.
If you're facing a similar situation, here's my honest take: buy the right angle hammer drill if your work has tight access. Keep a wideazz adjustable wrench and a grinding wheel dresser in the kit, because cheap ones fail at bad times. And if someone says "as soon as possible," confirm whether they mean "today" or "this week." Your future self will thank you.

Leave a Reply